AWS Open Source Blog
Integrating EC2 macOS workers with EKS and Jenkins
Kicking off re:Invent 2020, VP of EC2 at AWS, Dave Brown, introduced an all new Amazon EC2 Mac instance. This new Amazon Elastic Compute Cloud (Amazon EC2) instance allows developers to build, test, package, and sign Xcode applications for the Apple platforms including macOS, iOS, iPadOS, tvOS, watchOS, and Safari. One common question I hear from customers is, “How do you set up a macOS instance on AWS with build tools like Jenkins?” Based on customer feedback, I wrote this blog to show how to create a build environment using our new mac1.metal instance type.
Solution overview
This blog walks through:
- Creating a new Amazon Virtual Private Cloud (Amazon VPC) specifically for your build environment.
- Creating a new Amazon Elastic Kubernetes Service (Amazon EKS) cluster to manage your builds.
- Provisioning a fault-tolerant Jenkins leader inside EKS that leverages persistent volumes via Amazon Elastic Block Store (Amazon EBS).
- Creating an Amazon EC2 macOS instance that automatically becomes a Jenkins worker that is using our JDK, Amazon Corretto, to connect to the Jenkins leader.
- Creating a secure Amazon Simple Storage Service (Amazon S3) bucket for build artifacts that follows a least privilege security model using Amazon EC2 instance profiles.
Typically building out a robust environment as described would take a long period of time. However, you can set up everything in about 30 minutes by using the AWS Cloud Development Kit (AWS CDK). AWS CDK is a powerful Infrastructure as Code framework that allows you to create cloud application resources using familiar programming languages.
Please note that this is an example and should be used as a guide to develop your own production deployment. TLS is not enabled with this code, but it could be added later to the load balancer.
Let’s get started!
Prerequisites
To deploy this environment, you must install aws-cdk and have the AWS CLI installed and configured. You can do this by entering the following command in the terminal:
Additionally, ensure that you have kubectl installed to work with your Amazon EKS cluster.
Once those components are installed, you are ready to get started.
Tutorial
Clone the GitHub repo
First, grab the code from GitHub to get the project started.
Allocate Mac1 EC2 hosts
After ensuring the AWS CLI is installed and configured, you must first allocate a dedicated Amazon EC2 mac1.metal host in your Region of choice. In the following example, I use us-west-2. Please enter these commands into your terminal:
Configure SSH key for workers
You must create an SSH key in the AWS Management Console and save the private key to your local machine. You can name it something simple like jenkins-key.
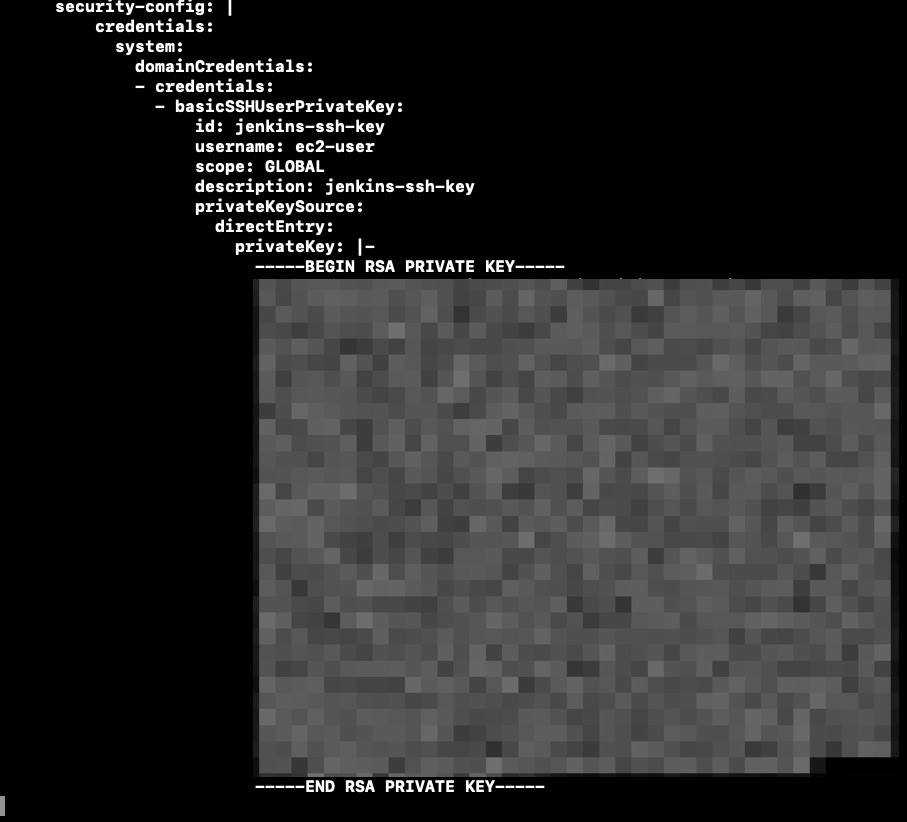
This project uses the Jenkins Configuration as Code plugin to automate the Jenkins platform. Once you have the SSH key created, next edit the Jenkins Configuration as Code ./lib/manifests/jenkins-values.yaml file and add your private key under the security-config parameter that was generated via the AWS console. This key is then automatically uploaded to your Jenkins leader so it can connect to the macOS worker to perform jobs. I use the SSH build agent plugin to enable this functionality.
The following screenshot demonstrates:
Provisioning EKS, Jenkins, macOS, and an S3 bucket
At this point, you have configured the AWS CLI, AWS CDK, and generated your SSH key. Now, you are ready to begin launching the build environment.
First, choose the region into which you want to launch this environment by setting an environmental variable for CDK. In this post, I use the region us-west-2.
Once you choose your region, confirm that the following stacks will be deployed with the following command:
Creating the EKS cluster
Provisioning an EKS cluster takes about 20 minutes, so after you run the following command feel free to grab a coffee then come back and check on your deployment.
Note the CDK outputs that are generated. The following screenshot shows an example output.

Run the commands from your CDK outputs to get your kubectl environment correctly configured. From the outputs, you want to run the aws eks update-kubeconfig and aws eks get-token commands to properly setup your kubeconfig.
Creating the S3 bucket for artifacts
Run the following command to create an S3 bucket to deploy a secure code artifact location.
Creating the macOS Jenkins worker
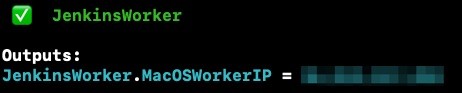
Launch the Jenkins CDK stack and note the IP address of the worker.
The following screenshot shows:
Creating the Jenkins leader
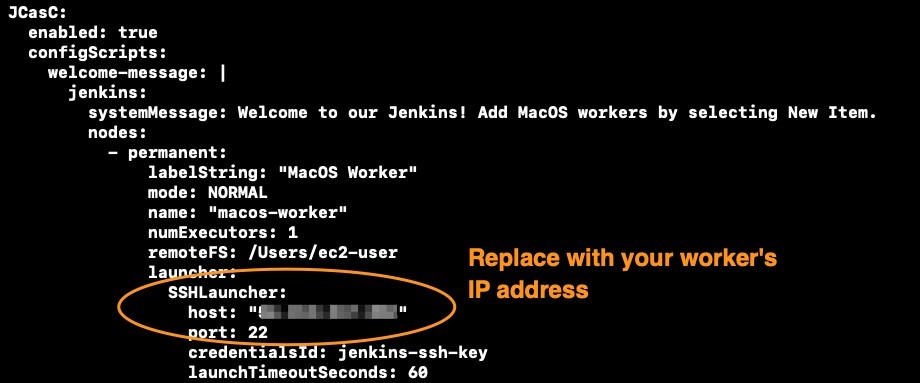
Once again, you must update the Jenkins Configuration as Code YAML file to ensure that your worker is successfully added. You can do this by entering the IP address that was outputted from the JenkinsWorker stack in the host: parameter highlighted below.
It takes about 4-5 minutes for this stack to complete.
Once this stack is complete, run the following commands to log into your Jenkins environment.
Note: If you get an error running this stack, just re-run it. There is a known issue with CDK and Helm that is actively being addressed.
Get your Jenkins autogenerated password stored as a Kubernetes secret.
Get the URL to your Jenkins installation.
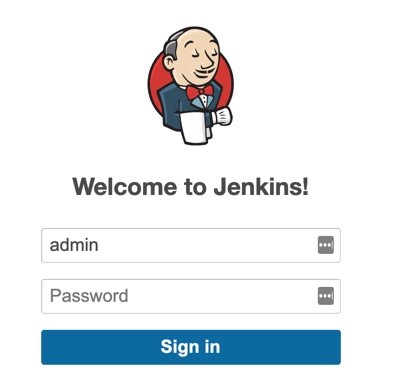
Logging into Jenkins
Now that you captured the admin password from Kubernetes secrets and the load balancer endpoint, you can log into Jenkins. Place the URL for the Jenkins install into Chrome or Safari and log in.
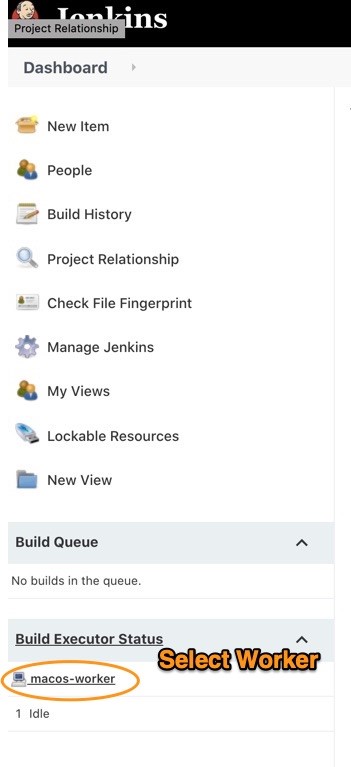
Once you log into Jenkins, confirm that your macOS worker is connected by navigating to the build executor status.
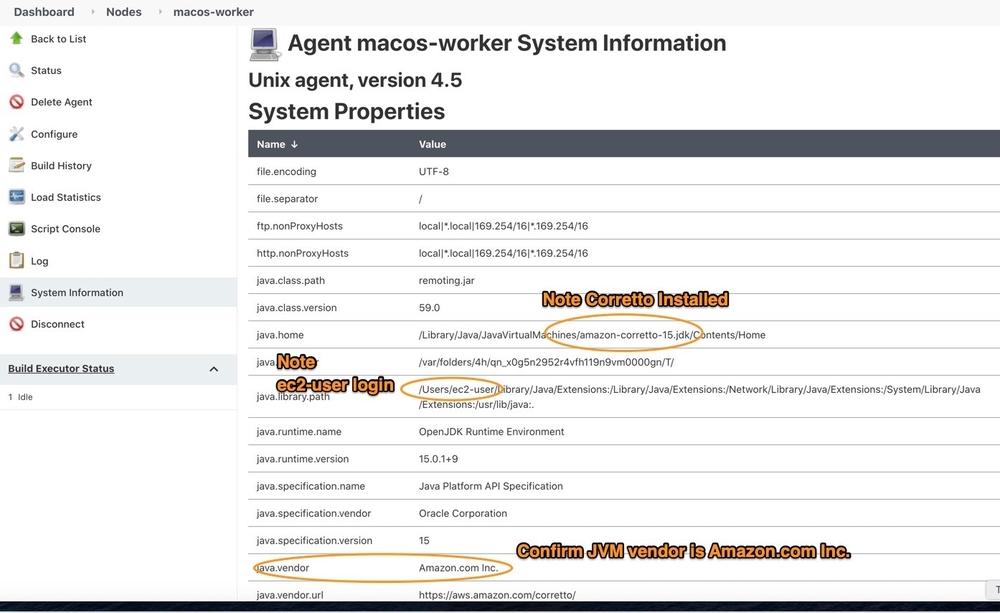
Confirm details that the macOS worker is working by clicking on System Information, as shown in the following screenshot.
Now that your Jenkins worker has been configured and added, you can begin creating Jenkins pipelines or other automated tasks.
Conclusion
Configuring Jenkins in a reliable way can be a challenge. Leveraging automation tooling such as AWS CDK can reduce the time it takes to build and deploy complex infrastructure and application environments. This post has provided a guide on how to configure Jenkins with our new mac1.metal instance. If you run into any problems feel free to open a GitHub issue and we’ll respond. Happy building!